Welcome to The Helpful Art Teacher, an interdisciplinary website linking visual arts to math, social studies, science and language arts.
Learning how to draw means learning to see. A good art lesson teaches us not only to create but to look at, think about and understand our world through art.
Time Machine: adding modern people to old photos in Photoshop
I found this old photograph in the historical archives in the basement of the Perth Amboy Public Library and took a photograph of it with my iPhone. The original picture did not have the couple in it.
That is my daughter and her date on their way to the senior prom in May of 2018.
How were they able to travel back in time so convincingly? Through a magical time machine called Photoshop. Sit back and I'll show you how you too can time travel into any antique photograph.
Select Subject, copy
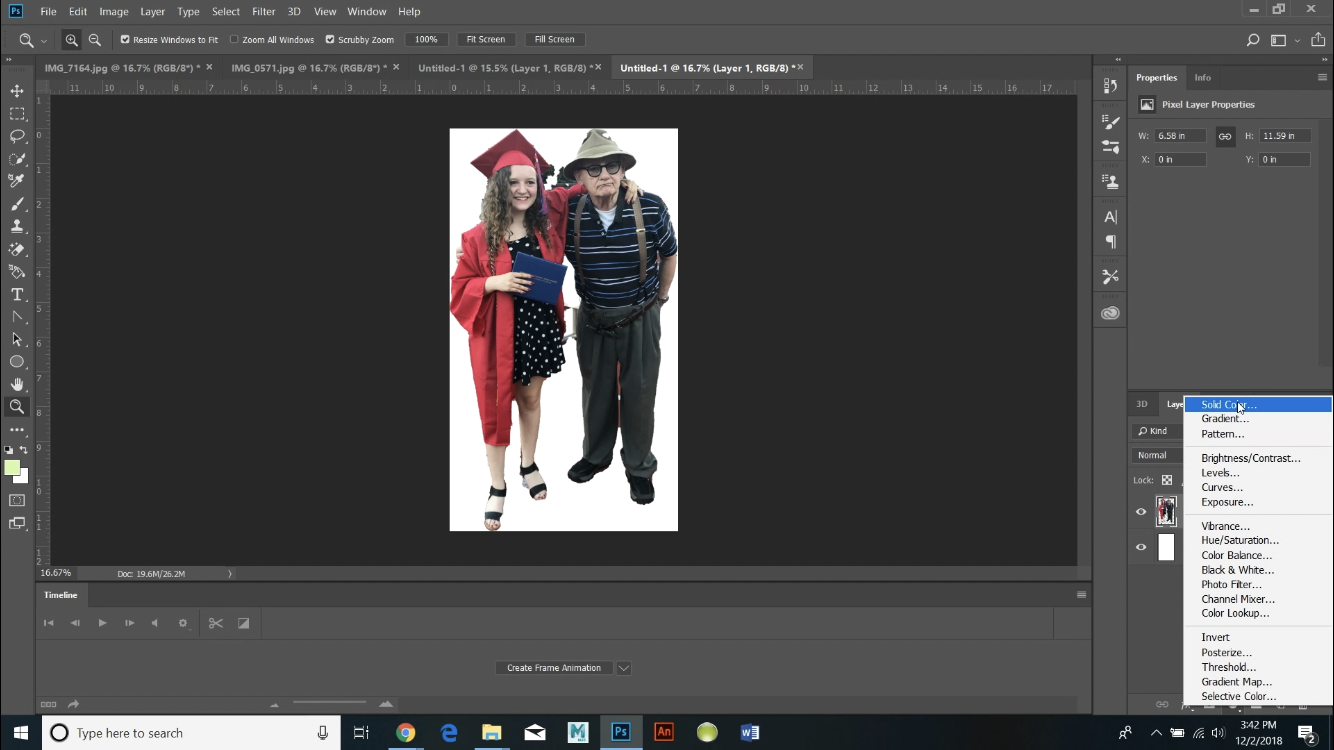
File, new, paste. Add solid color adjustment layer (it's one of the pop up menus in the bottom right corner). Select a color that contrasts with your subjects and drag the adjustment layer underneath your subject layer. This will enable you to see all the little things you need to fix.
The healing brush looks like a band-aid. You can adjust it's width and hardness just like any other brush.
The magic eraser is great for getting rid of extra blobs. It is hidden underneath the regular eraser. By now I am sure you are used to clicking on that tiny arrow in the bottom right corner of a tool to reveal hidden, similar tools. As always you can adjust the width and hardness of any tool.
You already know just how useful the quick selection and magic wand tool are for getting rid of unwanted pixels.
You can use the clone stamp or healing brush to fix the missing pixels on my dad's hat. I found the clone stamp to be easier to use.
The 'Majestic Theater' photo was crooked since I took a picture of the curling old photograph with my iPhone instead of scanning the image. After using the rectangular marquis tool and clicking 'image' 'crop' I hit 'edit' 'transform' and 'skew'. I then pulled the corners of the photo to straighten out the image and get rid of the crookedness and distortion.
Apply changes and then deselect
Change your resolution to 300 PSI. This will make your file extremely large. You will shrink the image size at the end, before turning in your work.
When you are changing the size of something and do not want to distort it, be sure to hold the shift key down the whole time. File, transform, scale and then as you are pulling and pushing the corner you are holding the shift key down. Do not release the shift key until after you have released your mouse.
Image, Adjustments, Black and White.
Filter, noise, add noise
Make the noise level of the background and subject match
Here are some ways to add lighting. I personally prefer the burn and dodge tool, especially for the cast shadows on the ground. Just use the burn tool and draw horizontal cast shadows starting at the feet of your subject and going in the same direction as the other shadows in the background (You need to be in the background layer for this part). If you do not add cast shadows, your figures will appear to be floating and your Photoshop skills won't fool anyone.
Best of luck travelling back in time. I cannot wait to see the photographs you bring back with you.
Once you are done turning your work in, below is a video on how to colorize old photographs:
Choose another historical photograph from our collection and try colorizing it. I use a slightly different method to colorize than the video above. Below is my colorizing tutorial:
You actually make it seem so easy with your presentation but I find this topic to be actually something that I think I would never understand. It seems too complicated and very broad for me. I'm looking forward for your next post, I will try to get the hang of it!


You actually make it seem so easy with your presentation but I
ReplyDeletefind this topic to be actually something that I think I would never understand.
It seems too complicated and very broad for me. I'm looking forward for your next post, I will try to get the hang
of it!