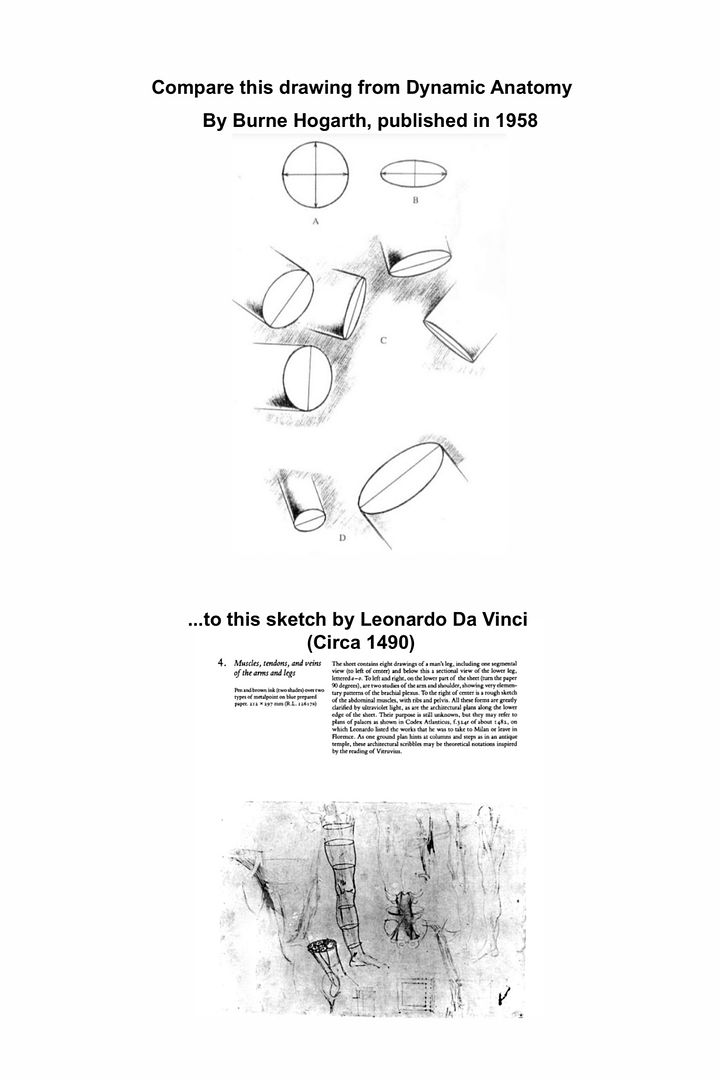
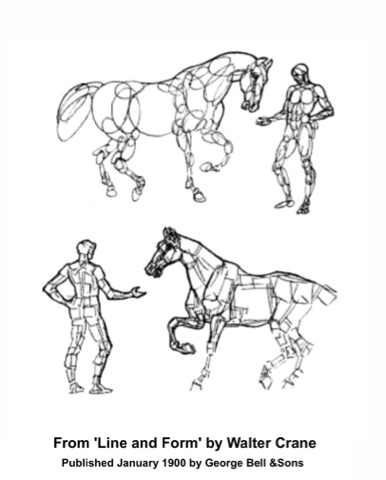
Before watching the video tutorial, print out the first two worksheets and read them.
Get together with a partner and check if the proportions described on the worksheets are accurate.
After watching the video tutorial, try drawing your own geometric figure drawing using accurate proportions.
Most beginners make the head too big, the shoulders too narrow and the arms and legs too short. Take special care to avoid and correct these mistakes. It might be helpful to make your drawing the same size as the figure in the worksheet and draw your picture next to the worksheet so you can insure your proportions are accurate.
There is normally nothing wrong with exaggerating certain features to create a cartoon but the objective of this lesson is to teach students how to recognize and draw accurate human proportions.
When you are done creating your geometric figure, place a thin piece of drawing paper over your drawing and create a second picture of a person, using accurate proportions. This time, do not make the person look like a robot. Leave out the circles for the joints. Add a face, hair, fingers, clothing, shoes and other details.
Be as creative and detailed as possible.
Next, try scaling your person up. Make your next drawing double the size of your first picture, while still keeping the proportions accurate.
Once you have learned to break down the human figure into simple geometric forms, you are ready to learn how to create a gesture drawing.
Print out this helpful worksheet to get you started.
Vitruvius was a famous Roman Architect. Architects need to understand human proportions in order to design buildings that are the correct scale. DaVinci drew this picture in order to illustrate what Vitruvius wrote about human proportion.

FORESHORTENING
Imagine that instead of standing in front of a human figure, you were gazing up at it from below. This is called a 'worm's eye view'. If you were looking down on the figure, you would depict a 'bird's eye view'.
Here is an excellent worksheet describing how the proportions of the human figure would appear to be distorted depending on your perspective (point of view). http://fc02.deviantart.net/fs70/f/2012/263/e/4/perspectives_tutorial_by_dersketchie-d5fb8lk.png
Foreshortening means that anything angled directly towards you or away from you will appear shorter than it actually is. In other words, the size of an object's dimensions along the line of sight appear relatively shorter than dimensions
across the line of sight.
From Wikipedia:
Foreshortening is the visual effect or optical illusion that causes an object or distance to appear shorter than it actually is because it is angled toward the viewer.
Here are some worksheets I created to demonstrate foreshortening in both a geometric and contour line drawing of a human figure, from a worm's eye perspective.
Drawing Process: Human Figure, Three-point Perspective, Worm's Eye View from Rachel Wintemberg on Vimeo.
Somebody recently asked me how I would draw the human figure in three point perspective from a worm's eye view. Whenever I draw something new I take a very systematic approach. First, I searched online for a worksheet with examples of human figures, drawn using three-point perspective foreshortening, like this one.
Next I searched for and downloaded some stock photos.
Finally, I played around with the forms and made a few practice drawings. I experimented, erased and drew some more, until my picture looked right.
I used the time lapse feature on Sketchbook Pro to record my trial and error drawing process. All successful artists learn from their mistakes.
The trial and error learning process is actually more important than the finished product.
It is my hope that, by sharing my process, I will encourage my students to
try new things without fear of failure.
The trial and error learning process is actually more important than the finished product.
It is my hope that, by sharing my process, I will encourage my students to
try new things without fear of failure.
For more practice drawing the human figure in different poses click on the links below:
THIS LESSON REINFORCES THE FOLLOWING COMMON CORE MATH STANDARDS
Apply geometric concepts in modeling situations Use geometric shapes, their measures, and their properties to describe objects (e.g., modeling a tree trunk or a human torso as a cylinder).★ CCSS.Math.Content.HSG-MG.A.1
Apply geometric concepts in modeling situations Use geometric shapes, their measures, and their properties to describe objects (e.g., modeling a tree trunk or a human torso as a cylinder).★ CCSS.Math.Content.HSG-MG.A.1

Published in 1543, The Fabrica, written by Belgian physician Andreas Vesalius, is one of the most influential books in medical history and also an incredibly beautiful work of art. Look inside this pioneering book of anatomy:


very helpful and beautifully presented - thank you
ReplyDeleteYou sir, has made my life really really easy!!!! Thanks a lot!!!
ReplyDeleteYou are quite welcome, but I am a lady not a sir! ;)
ReplyDeleteReally helpful. We have to do drawings of people in action for our art topic in year 5. As a teacher, I wasn't confident or inspired to teach the topic but you have given me so many useful visuals and ideas. Now I just need a final project for them to put all the great drawing into practise. Thanks so much, you have really helped me.
ReplyDeleteThank you! This is a great step by step instruction for my middle school art class! I really struggled with how to teach them figure drawing- They complain and give up so easily. I think this will really help!!!
ReplyDeleteYour highness line and shape light and shade! Thank you for this reference, will give it a go as soon as I get hand of a piece of paper and a pencil ;)
ReplyDeleteThanks for a very clear method to understand human figure proportions. Very helpful. Love how you are so precise yet, when you urge for the filling in of traced, correctly propotioned figure, you direct to make no robotic forms, curvy, fills, gesture and action. Makes a little sketch come to life! Presto magico. :-)
ReplyDeleteThis is extremely helpful, thank you! I struggled with figure drawing all throughout art school (opted for graphic design instead!), and now I am teaching art to kids. Following the video along with your worksheets make it much less daunting!
ReplyDeletethanks very helpful
ReplyDeleteSome truly excellent information, Sword lily I noticed this.
ReplyDeleteJust retired and have just taken up drawing/painting last week, so I've got a lot to learn but I'm enthusiastic and keen to learn. This is very helpful to me as a complete beginner. Thanks.
ReplyDeleteThank you very, very much for your generosity!
ReplyDeleteThis is amazing, thank you!
ReplyDelete