Pablo Picasso painted this picture when he was 15 years old
 |
| First Communion by Pablo Picasso Age 15 |
He painted this picture when he was 56
 |
| Guernica by Pablo Picasso 1937 You can read the story of this painting by clicking here |
Why did his painting style change?
Picasso's painting style changed throughout his life time. He was experimenting and always learning. He wanted to try new things.
He often began a painting by creating something realistic. Then he would modify and change his painting, creating an abstract picture over his realistic one.
The picture he ended up with was often nothing like the picture he started with.
At other times he would begin by painting an abstract picture and then create a slightly more realistic picture on top of it. He would thus work in layers until he ended up with a very realistic painting that looked nothing like the original abstraction.
He never stopped drawing or painting realistic pictures, he just used them differently throughout his life. We know this to be true because many of his paintings have been scanned by X-ray, revealing the layers beneath.
What if he had thrown each one of these paintings in the garbage every time he changed his mind? What if, instead of working with and changing the image in front of him, he decided that he had messed up?
 |
| Pablo Picasso Ink sketch of Paul Eluard 1941 |
To learn more about the art and life of Pablo Picasso click here
Drawing assignment
VERY IMPORTANT
Before you begin drawing:
Go to http://www.pablopicasso.org/index.jsp to read about the art and life of Pablo Picasso and to look at
examples of his artwork.
Pay particularly close attention to his drawings and paintings of faces and how they changed over time.
Next, read all my posts on drawing and shading the
human face and head. Just click on the links below to go directly to those posts:
Rubric for face shading unit. Use this rubric to evaluate your own work
MORE ON DRAWING FACES
Pay particularly close attention to the following post:
Face shading the 3/4 turned head step by step
Look at the diagram of the 3/4 turned face and compare it to Picasso's sketch of Paul Eluard:

|
| Pablo Picasso Ink sketch of Paul Eluard 1941 |
Next, please click on the links below to read my posts on the basic elements of form:
NOW YOU ARE READY TO DRAW
For this exercise you will need:
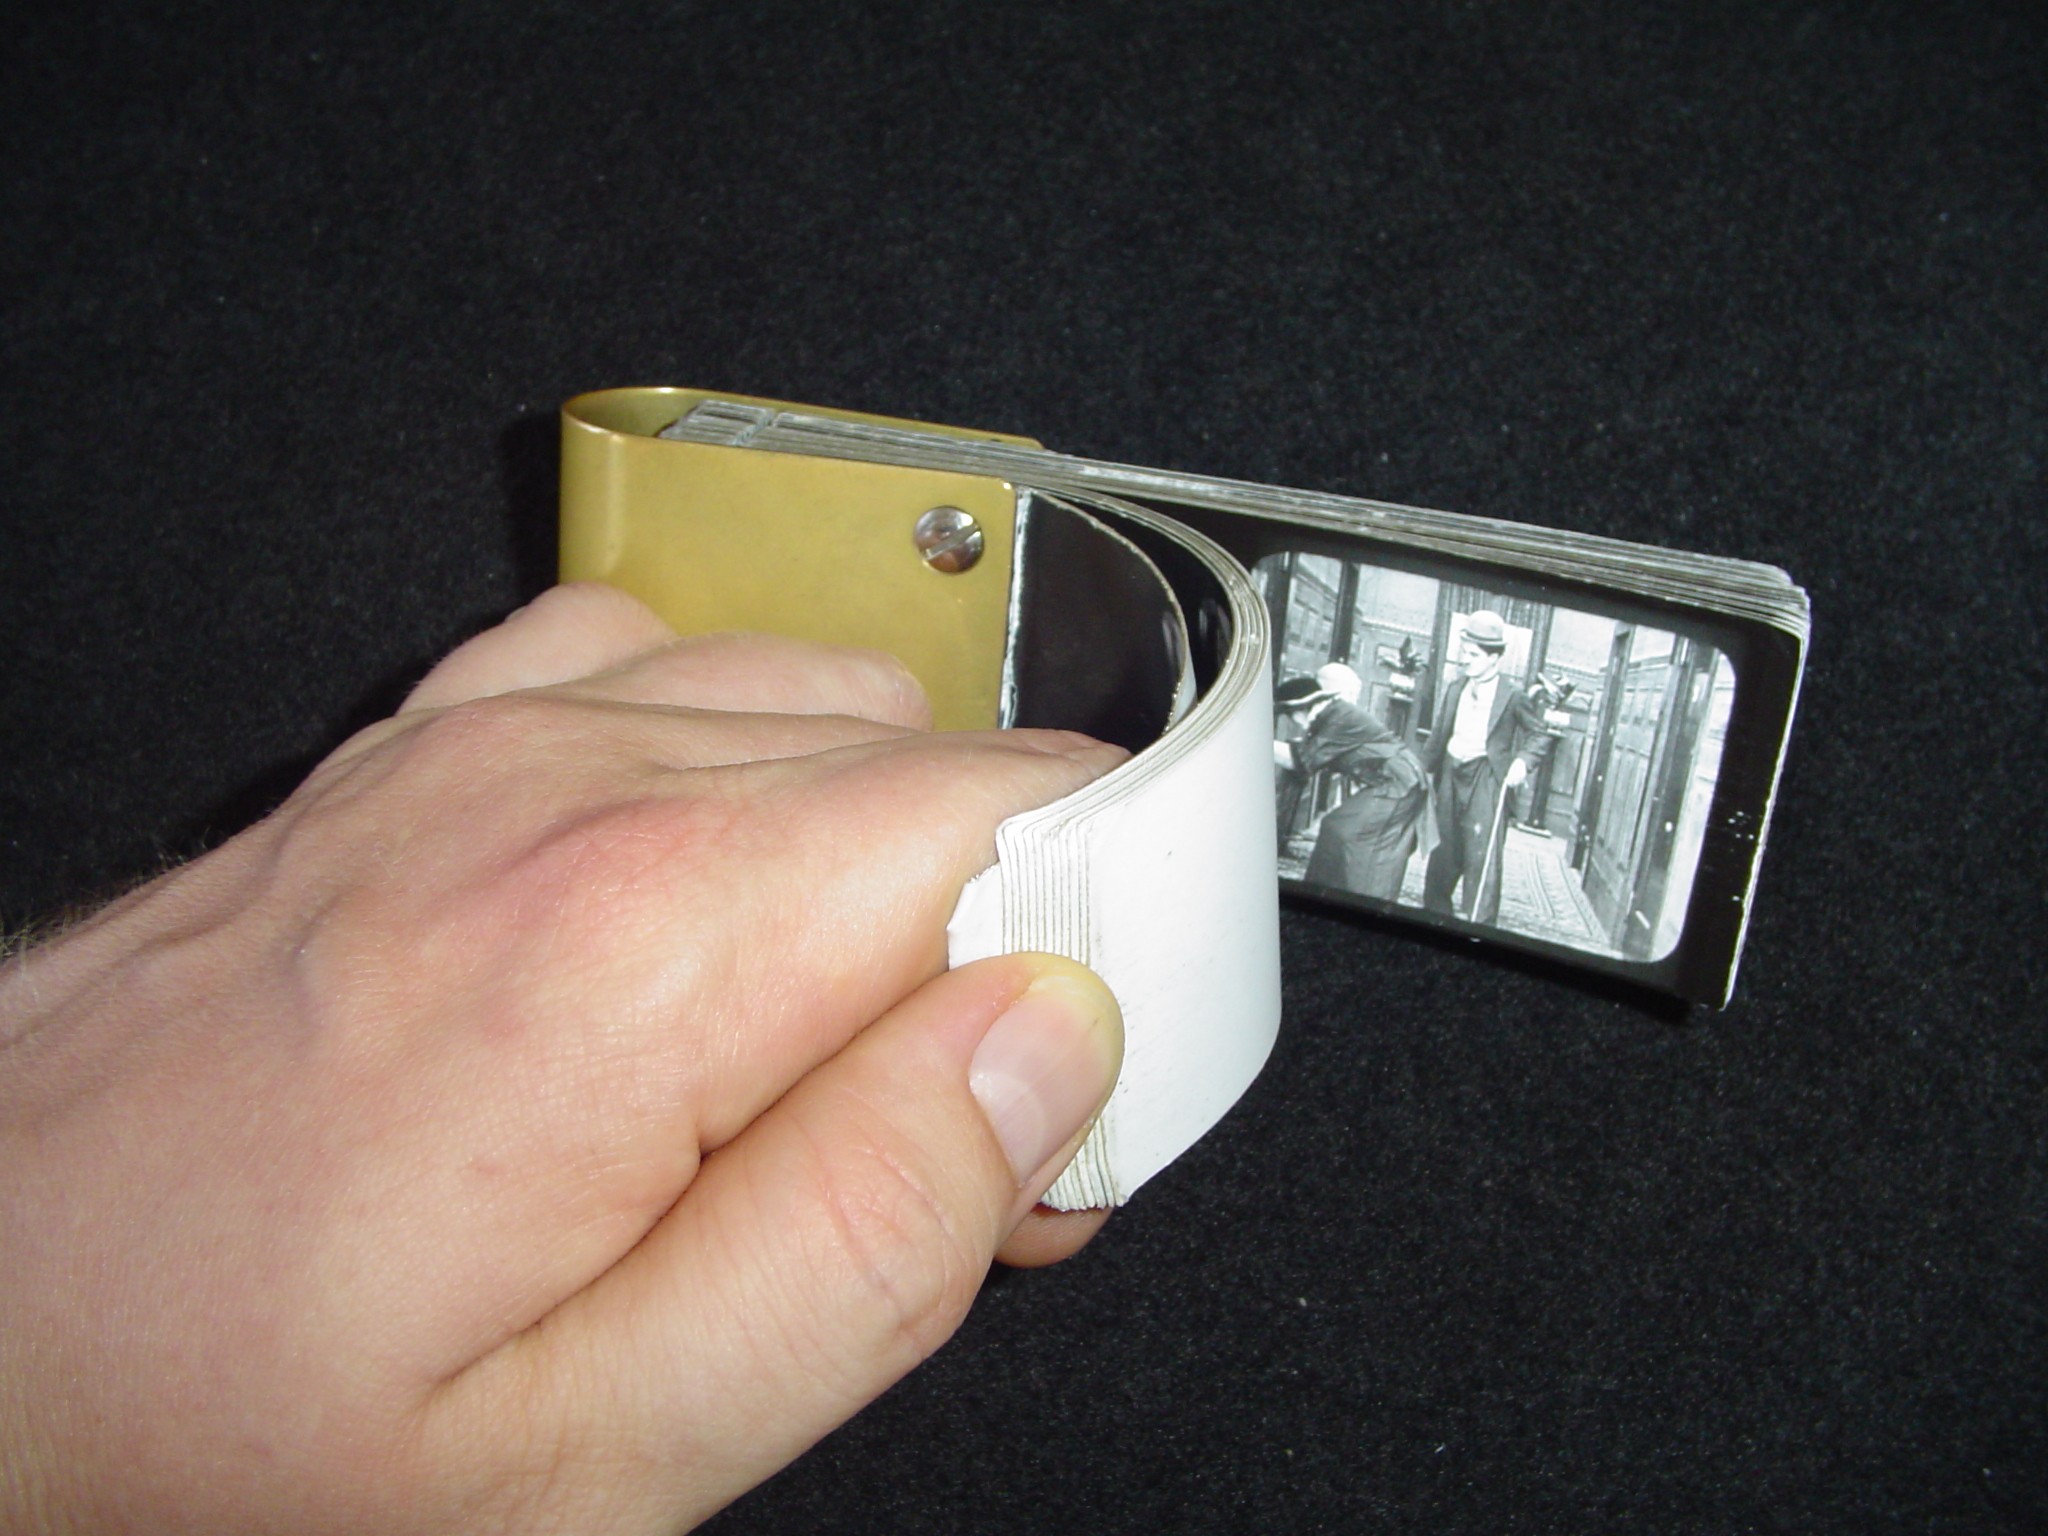
a small acrylic photo frame, like the one pictured below, and a dry erase marker.

You will also need a pencil,
some drawing paper, cut to the same size as the frame,
and some photographs of faces
(or someone to pose for you).
It is also helpful to have a digital camera
(a cell phone camera is fine)
(a cell phone camera is fine)
Slide a photograph into the frame and trace directly on the plastic, using a dry erase marker.
The first tracing you create will be a
contour line drawing (if you do not know what a contour line drawing is, click here).
If you are using a photograph, merely trace the drawing. If you are using a live model, you will need to close one eye as you trace on the surface of the acrylic frame.
If you are using a photograph, merely trace the drawing. If you are using a live model, you will need to close one eye as you trace on the surface of the acrylic frame.
Next, slip the picture out of the frame an replace it with a piece of white paper. Take a photograph of your contour line tracing or place a piece of thin drawing paper over the frame and trace on to the paper. Now try looking at your drawing on the acrylic frame and try copying it in pencil into your notebook without tracing. Better yet, look at your model or photograph and create a contour line drawing without using the frame. Learning how to draw what you see is really the process of learning how to see what you draw. When you trace reality on to a clear two dimensional surface, you are translating what you see into a language of flat lines. Now that you have learned the vocabulary of this new language, by tracing the lines you see onto a flat surface, it is time to learn how to use that vocabulary by drawing what you observe onto paper.
Erase the plastic frame as soon as you are done documenting your work.
Now, slide the photograph back into the frame and trace the face using straight lines only.
Now, slide the photograph back into the frame and trace the face using straight lines only.
Try to think of the face as a combination of simple geometric forms and Platonic solids. It might be easier to use a large acrylic frame and trace a larger photograph. You can also try using a mirror and create a geometric abstraction of your own face, first with a dry erase marker on the mirror surface and then in your sketchbook. Refer to Picasso's drawing as often as you need to and create as many sketches as you need to. Picasso and his friend Georges Braque developed the idea of cubist abstraction over many years, not with a single sketch.
If you have access to Adobe Photoshop or Adobe Illustrator you can upload your photographs to your computer and overlay the two pictures.
Tracing a mirror or acrylic frame is an exercise to get you to see and to think about what you are seeing. In my class it will not be graded. The next step is to create a series of drawings in your sketchbook of the same face. Start out with an abstract geometric drawing. Turn the page and create a contour line drawing.
Turn the page and
create a grayscale (shaded in) drawing.
Create a flip book (if you do not know what a flip book is, click here)
or PowerPoint presentation, in which you transform a face from a geometric study, to a contour line study to a grayscale study. Reverse the order of the slides and play the presentation in a loop.
Power Point Presentation
Power Point Presentation
Draw and shade a face: highlights, mid-tones and shadows from Rachel Wintemberg on Vimeo. This is same series of pictures uploaded onto an animation program and playing on a loop.

Notice how similar the geometric lines that Testroete uses are to Picasso's lines in his sketch of Paul Eluard.

 |
| Head of a Woman by Pablo Picasso and an African mask shown side by side. Here you can see how the African mask clearly influenced Picasso to start experimenting with simplifying the human head into planes shapes and lines. These experiments would eventually lead to the development of cubism. |
Grab a scissors, some paper, a pencil and some tape and glue. Try experimenting with cutting and folding paper to create your own three dimensional paper masks.
Soon Picasso realized that if he could use cubism to simplify the world around him, he could also use it to create a more complex reality.
To understand the evolution of Picasso's creative process, consider how the contemporary artist Eric Testroete figured out how to fold and cut flat planes to create a realistic three dimensional head. Picasso figured out that, with Cubism, the opposite could also be true. If he could use Cubism to simplify his art, he could also use it to complicate his art and create something utterly revolutionary.
Imagine if, instead of gluing his mask together, Testroete cut it apart and rearranged the shapes. Imagine if he picked the most interesting shapes and glued them next to each other on to a flat surface and called the resulting collage a 'self-portrait'. This is essentially the turn Picasso's painting took. He started to look at objects from many different perspectives and cram all of those points of view into a single picture. He no longer felt the the need to follow a formula or set of rules to complete his paintings. Instead he moved around the objects he was painting and included all the parts that interested him the most.
Picasso and his friend Georges Braque were experimenting and inventing this artistic style as they went along, so they could continue to push their ideas and take Cubism in any direction they pleased. There were no wrong answers. There was only experimentation and the drive to create.

Violin and Pitcher by Pablo Picasso, 1912
To understand the contrast between the realistic perspective paintings that were popular at the time and the Cubist style that Picasso and Braque were inventing, just compare Picasso's painting, First Communion, from when he was 15 to the painting 'Violin and Pitcher' from 1912.
The best explanation I have ever found of the difference between Cubism and representational perspective is this Calvin and Hobbes comic strip:
 |
| “You’re still wrong, Dad.” (Watterson 6/17/1990) |
Remember, there are no short cuts. Pablo Picasso spent his entire life time experimenting and learning. He created a countless number of sketches, drawings, prints, photographs, paintings and sculptures during his life time.
When he did not have a sketchbook with him you can be sure that he was still keenly observing the world around him and drawing with his mind's eye.

  |
| Timeline of Pablo Picasso's changing artistic style 1893-1937 Be an art detective Print and cut out the cards below and see if you can identify the artistic style of each of these Picasso paintings by looking at the timeline. Match each card to what you think is the correct era and arrange them in what you think is the correct order. Compare your answers to those of your classmates. Do any of your answers differ?  |
No comments:
Post a Comment