Welcome to The Helpful Art Teacher, an interdisciplinary website linking visual arts to math, social studies, science and language arts.

Learning how to draw means learning to see. A good art lesson teaches us not only to create but to look at, think about and understand our world through art.

Please click on my page to see my personal artwork and artist statement: http://thehelpfulartteacher.blogspot.com/p/the-art-of-rachel-wintembe.html

Please contact me at thehelpfulartteacher@gmail.com. I would love to hear from you.

Sunday, May 12, 2013

See the world through the eyes of Vincent Van Gogh: Using line andtexture to bring your landscapes to life


Photobucket Pictures, Images and Photos
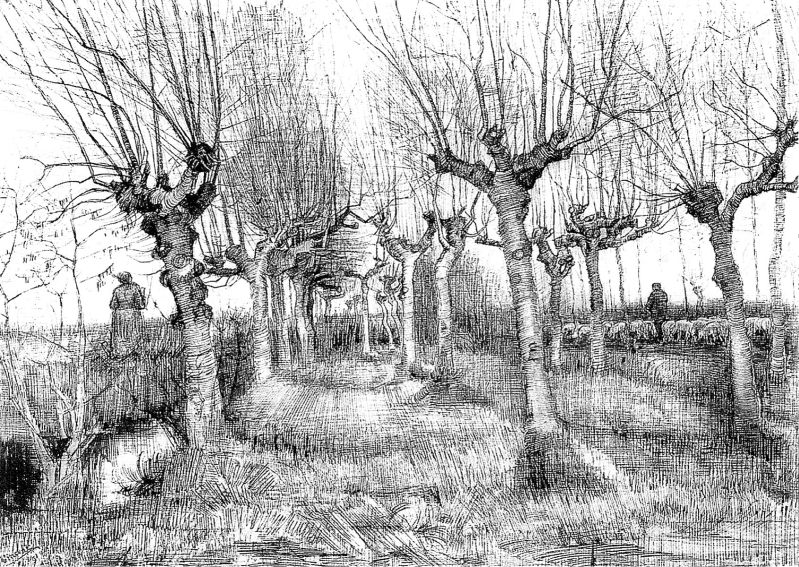
Olive Trees from the sketchbook of Vincent Van Gogh

How did Vincent Van Gogh use line and texture to bring a landscape to life?


By the Helpful Art Teacher
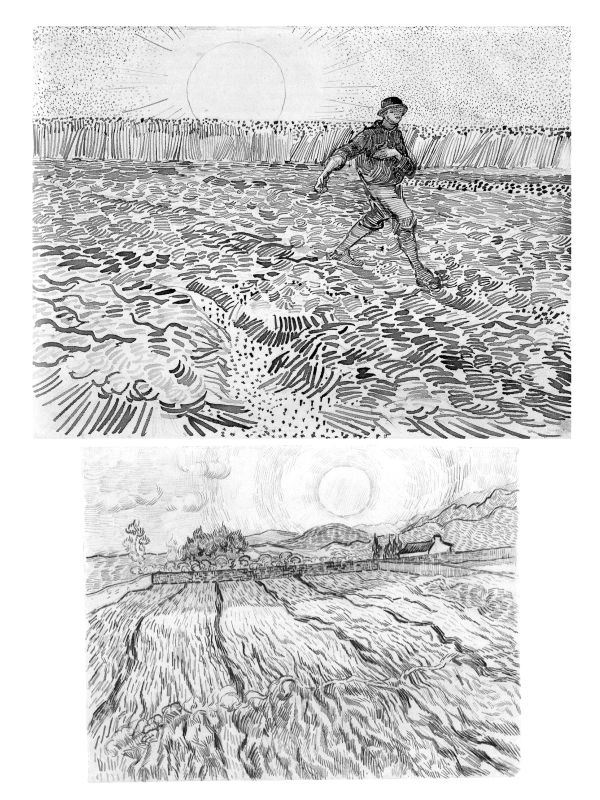
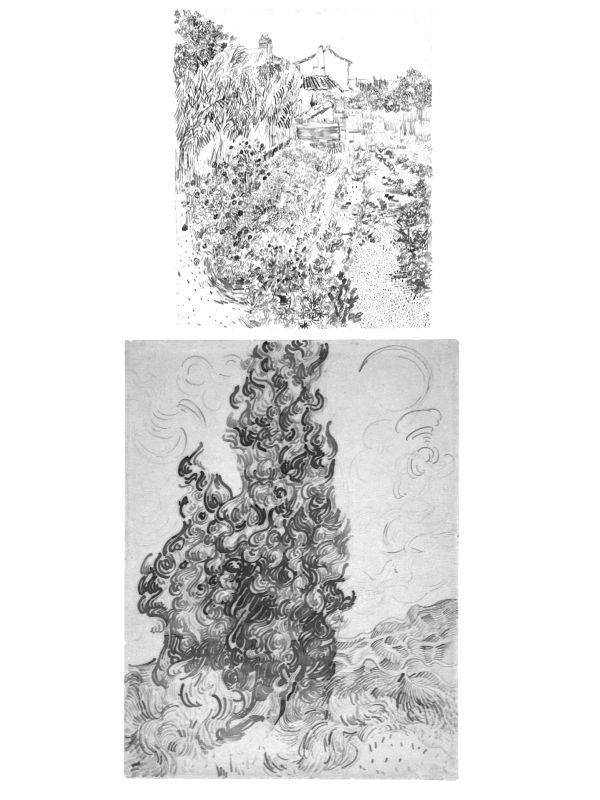
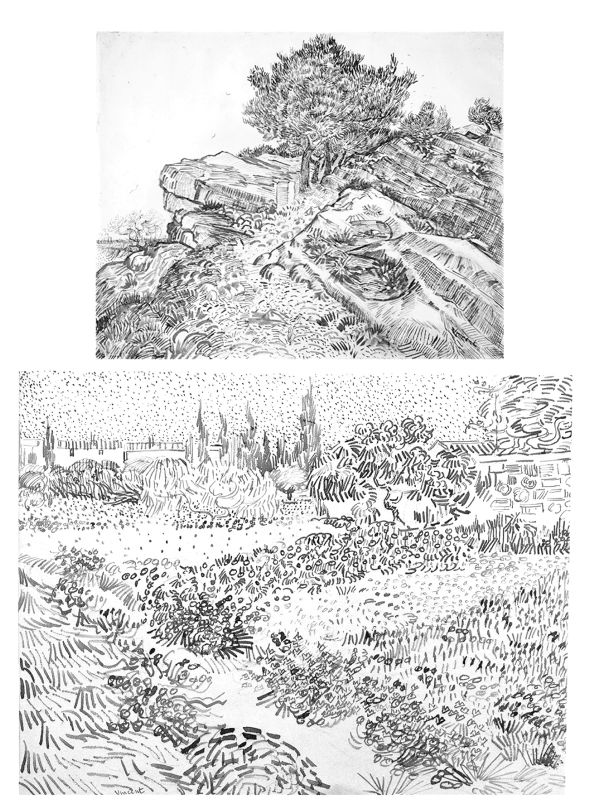
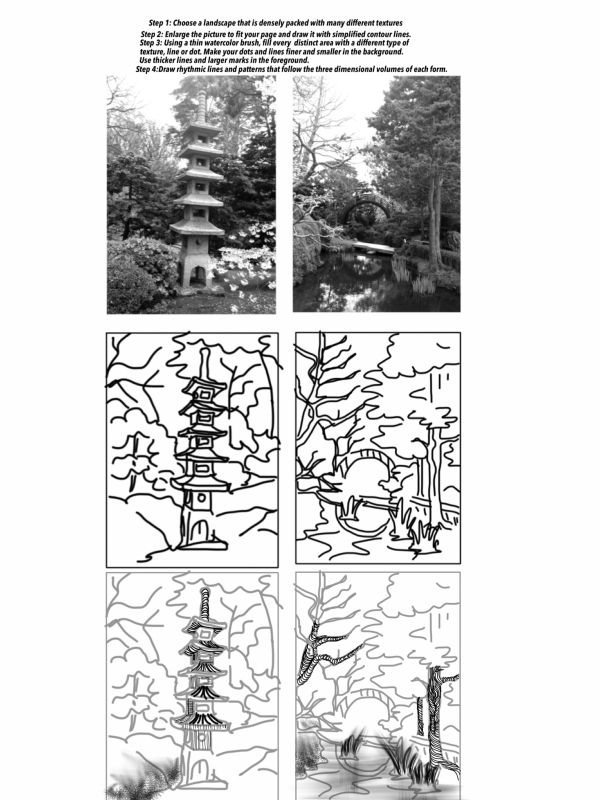
Tips and Tricks to help you understand his process. The drawings at the very beginning and end are of course Van Gogh's. In between I create a few pictures of my own in an attempt to see through his eyes.


PRINTABLE STEP BY STEP WORKSHEETS


SHOWING VINCENT VAN GOGH'S PAINTING PROCESS


By The Helpful Art Teacher
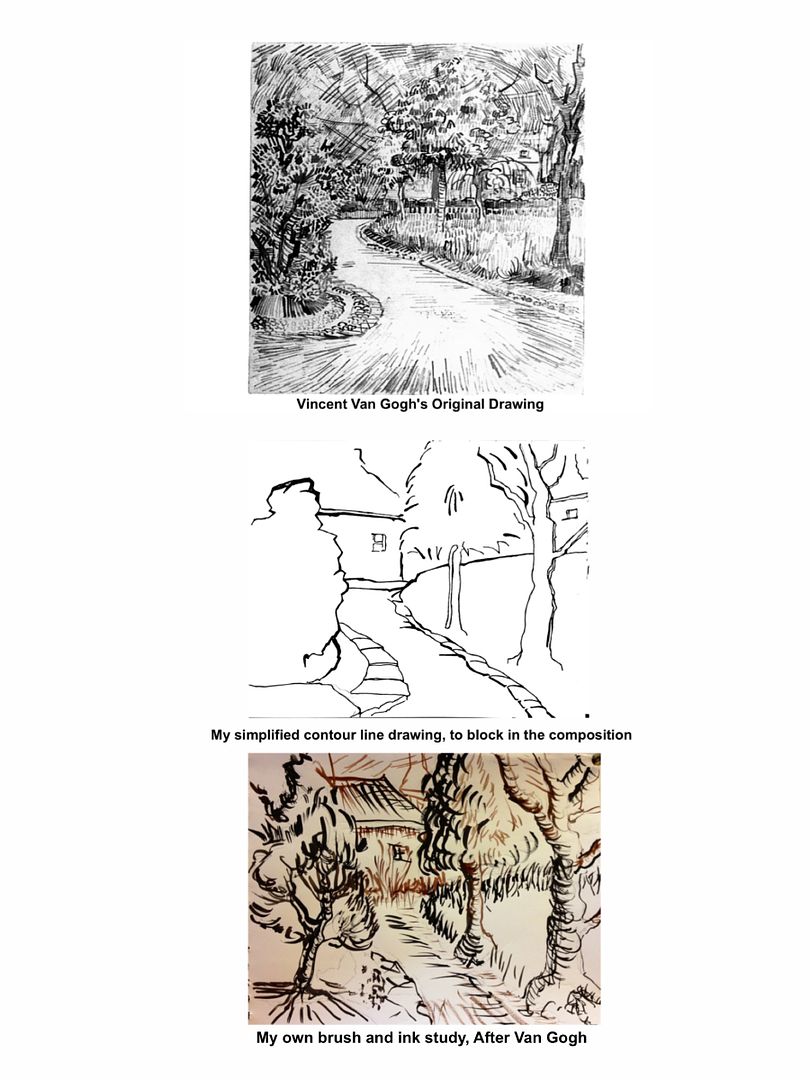
 photo 841771631bda0daa3615241e336d51e2.jpg


Photobucket Pictures, Images and Photos


BLACK AND WHITE PRINTABLE VERSIONS OF 
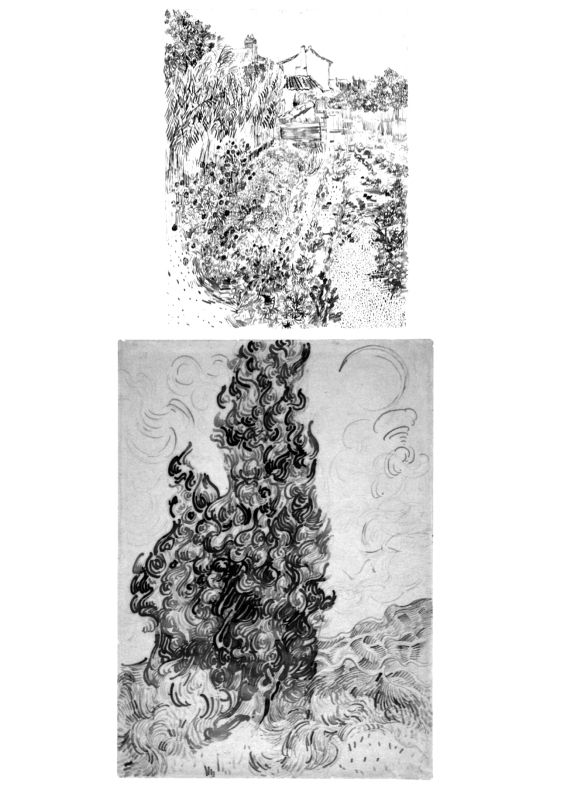
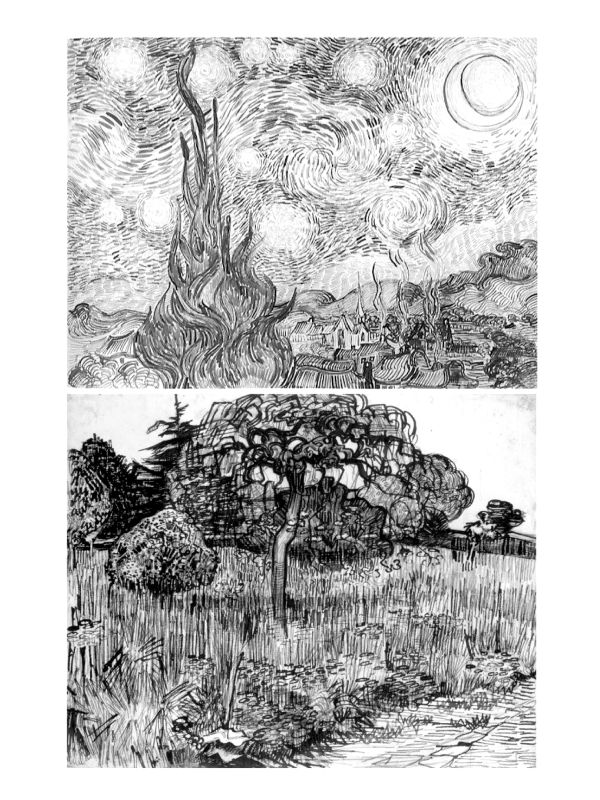
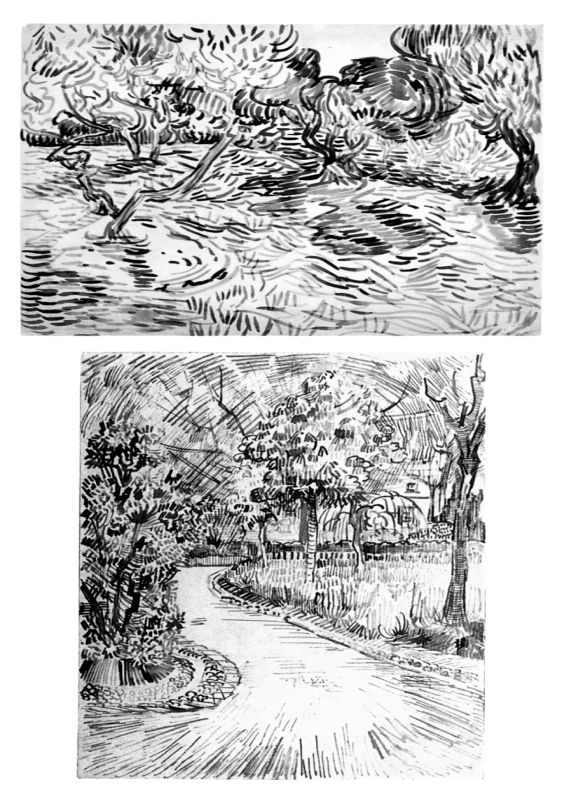
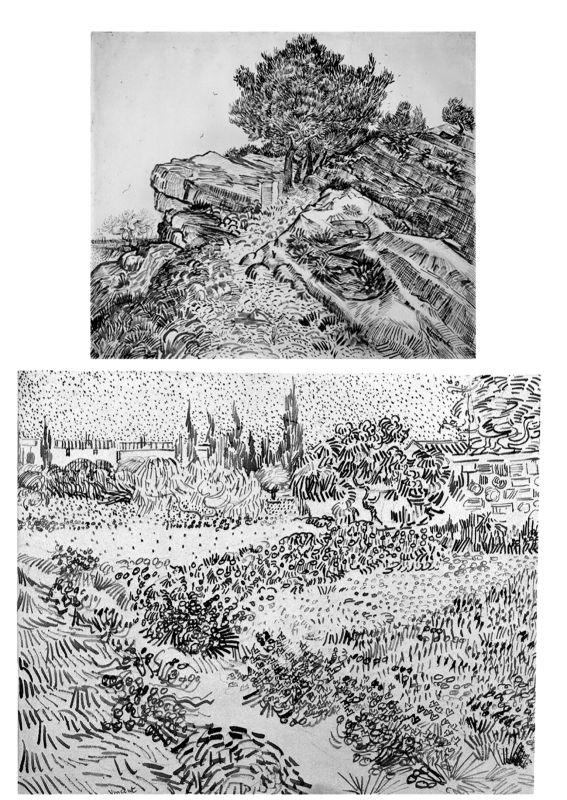
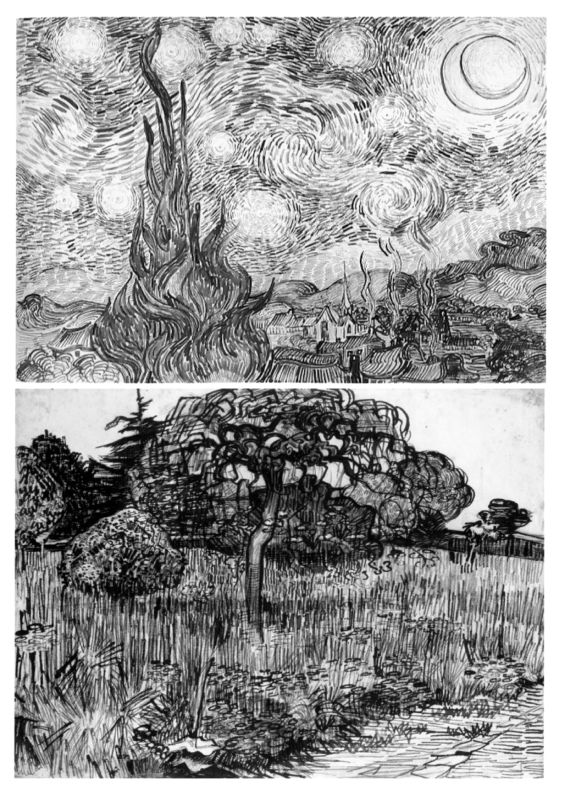
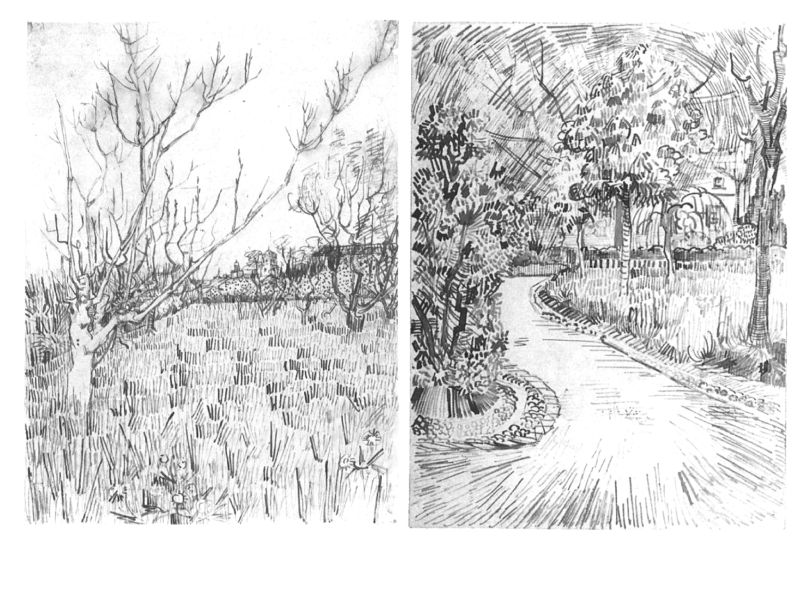
VINCENT VAN GOGH'S INK STUDIES


Photobucket Pictures, Images and Photos
From the sketchbook of Vincent Van Gogh
Photobucket Pictures, Images and Photos
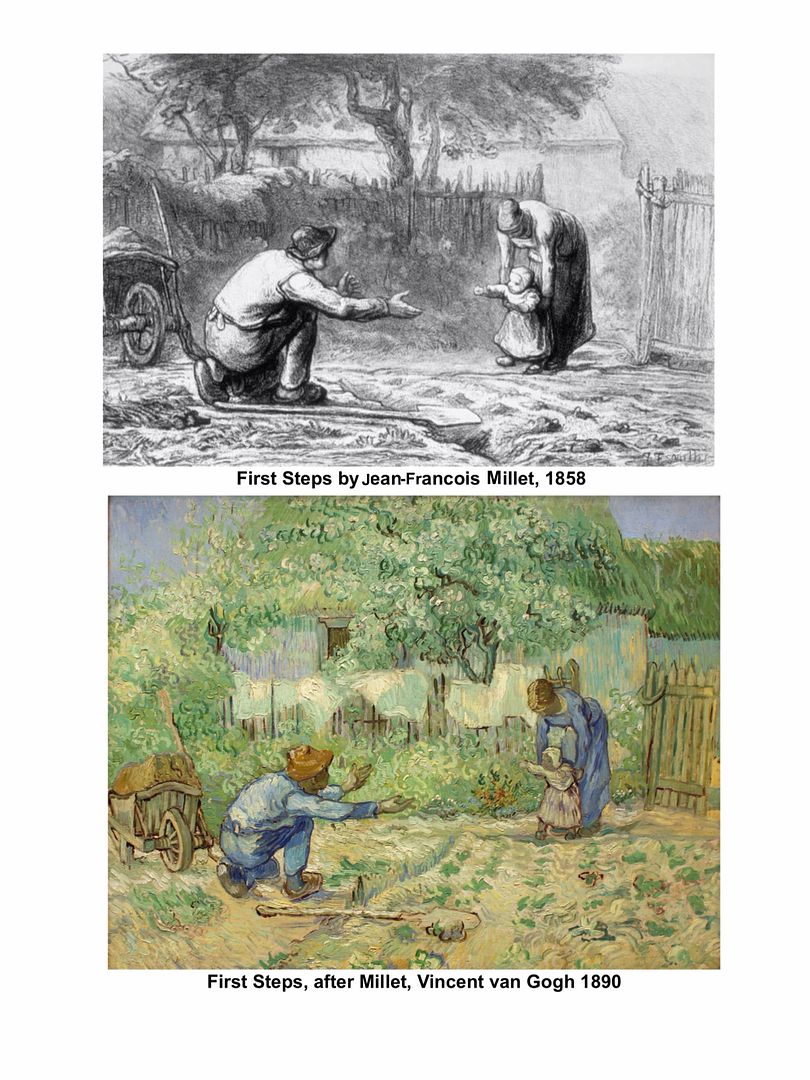
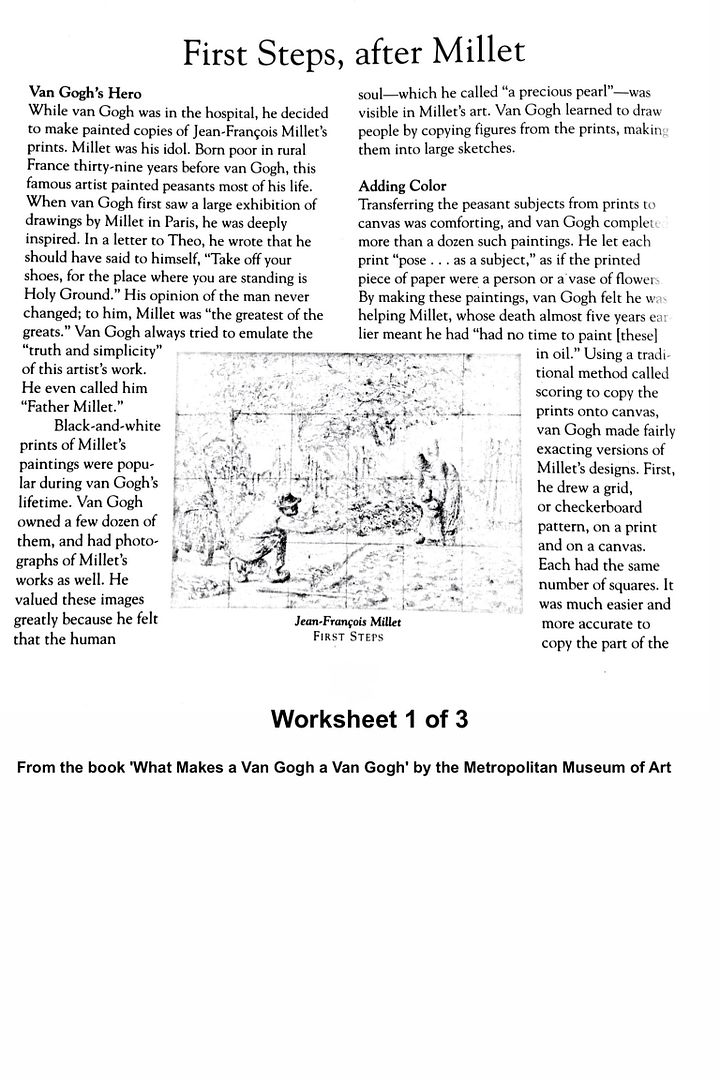
Ink drawings After Millet from the sketchbook of Vincent Van Gogh
Photobucket Pictures, Images and Photos
Cypresses
Ink drawings from the sketchbook of Vincent Van Gogh
Photobucket Pictures, Images and Photos
Ink drawings from the sketchbook of Vincent Van Gogh
Photobucket Pictures, Images and Photos
Cypresses
Ink drawing from the sketchbook of Vincent Van Go
Photobucket Pictures, Images and Photos Photobucket Pictures, Images and Photos Photobucket Pictures, Images and Photos Photobucket Pictures, Images and Photos Photobucket Pictures, Images and Photos

Olive Trees
Ink drawing from the sketchbook of Vincent Van Gogh


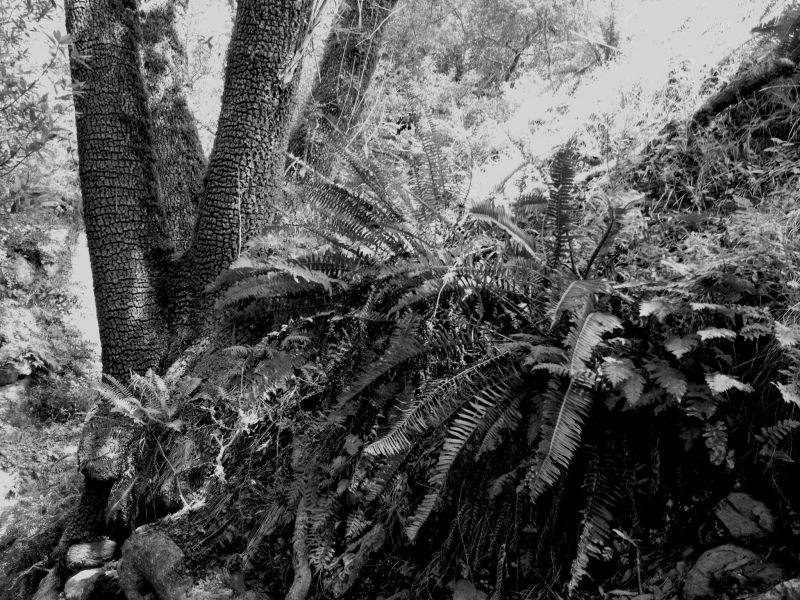
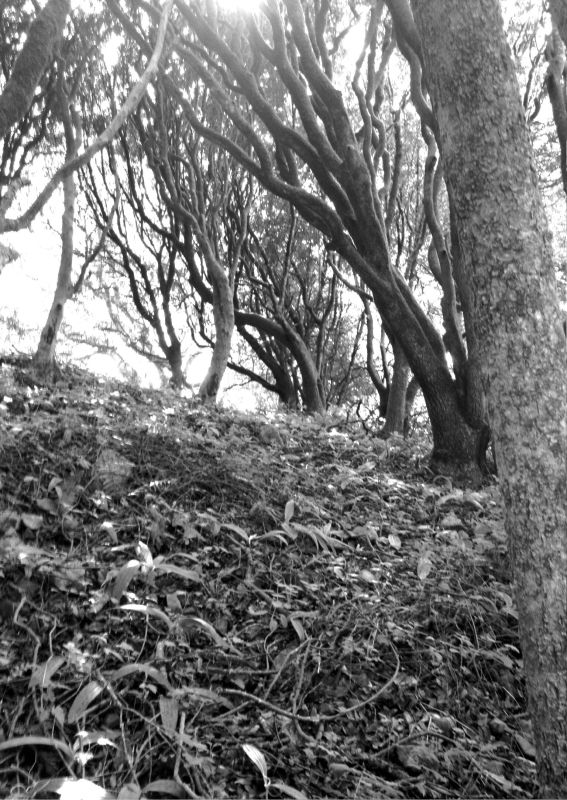
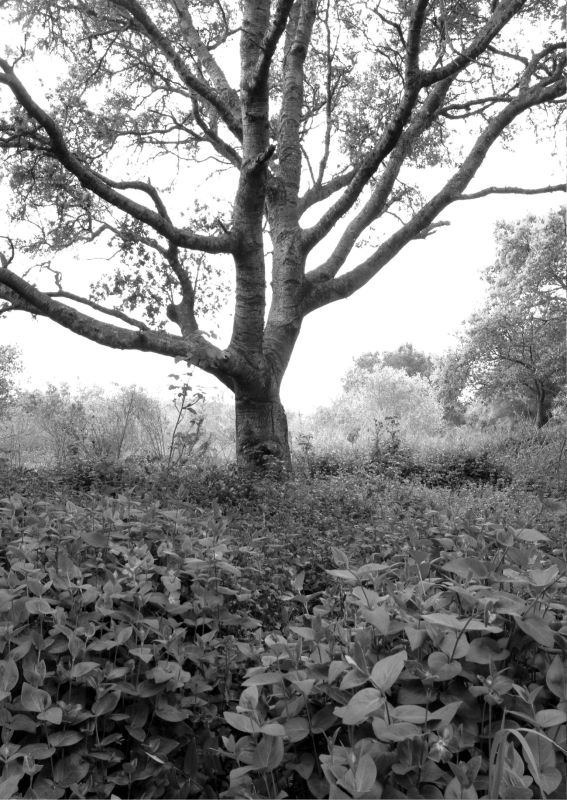
PHOTOGRAPHS OF LANDSCAPES THAT ARE DENSELY PACKED WITH A VARIETY OF TEXTURES
I took  these photographs in Northern California. The landscape was similar in lushness and climate to the area in Southern France where Van Gogh created many of the sketches above. Feel free to use my photos for your Van Gogh process painting experiments, or better yet, take a walk with your camera and try to find your own densely textured subjects. Try photographing gardens, trees, streets and buildings.


Photobucket Pictures, Images and Photos

Photobucket Pictures, Images and Photos


Photobucket Pictures, Images and Photos

Photobucket Pictures, Images and Photos

Photobucket Pictures, Images and Photos


Photobucket Pictures, Images and Photos
 To learn more about Vincent Van Gogh, 
please visit my other posts on the subject 
by clicking here and here.

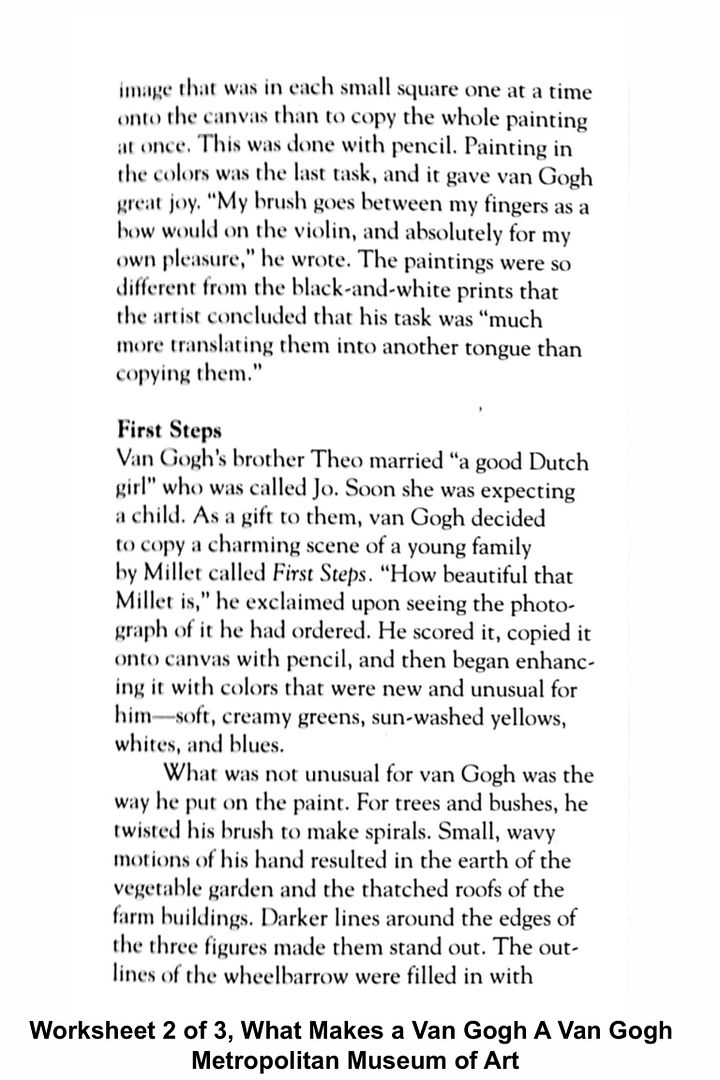
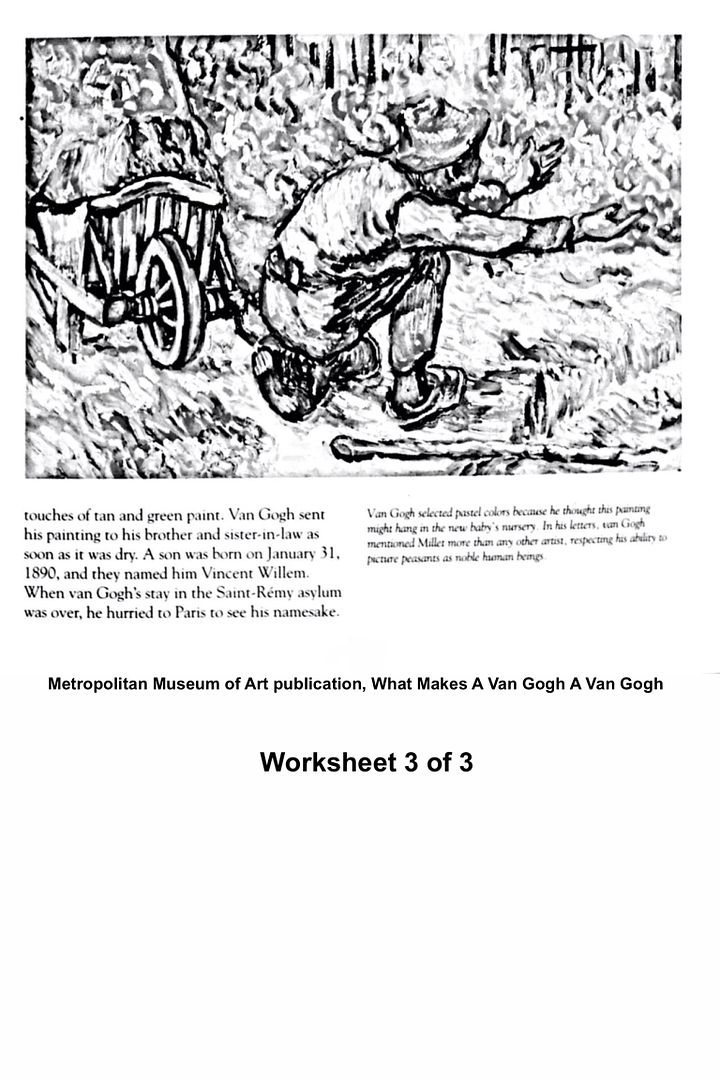
A detailed analysis of Vincent Van Gogh's creative process, courtesy of the Metropolitan Museum of Art, NY
Photobucket Pictures, Images and Photos Photobucket Pictures, Images and Photos
Photobucket Pictures, Images and Photos

Questions for discussion:

Why did the art teacher give out only small brushes?

How am I supposed to fill in the space on my paper, once I begin painting?

STUDENT ART GALLERY:
After Van Gogh by a 5th grade student, instant coffee and black paint on paper

After Van Gogh by a 5th grade student, instant coffee and black paint on paper

After Van Gogh by a 5th grade student, instant coffee and black acrylic paint on paper. Allowed to dry and then 
painted with watercolors 

After Van Gogh, by a 5th grade boy. Instant coffee on paper
After Van Gogh by a 5th grade student, instant coffee on paper

THE WATERCOLOR PAINTINGS BELOW WERE CREATED BY 7TH GRADE STUDENTS; ORIGINAL COMPOSITIONS 'AFTER VAN GOGH'. 
These were one day exercises designed to explore 
Van Gogh's line quality. 


Thursday, May 2, 2013

How Animation Works

Photobucket Pictures, Images and Photos


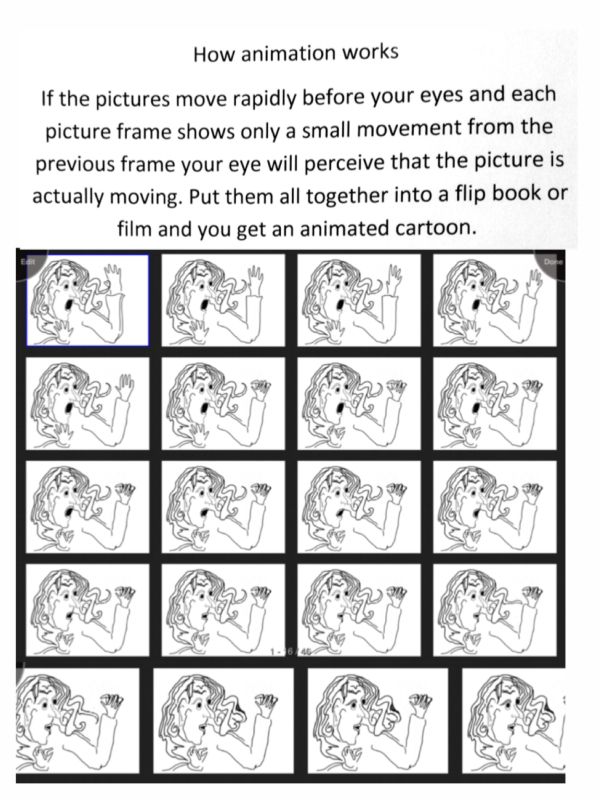
HERE IS HOW A FLIP BOOK WORKS TO FOOL THE EYE

All you need to start experimenting with this optical illusion is a pad of paper and some water based markers. Don't use a Sharpie or other permanent marker because it will bleed through the paper. Start at the bottom page and draw a picture. Carefully trace the image onto the second to bottom page, moving it only slightly. Continue the process on the subsequent pages, shifting the picture gradually with only subtle changes. Work only on the bottom section of the pad so you can flip it easily using only your thumb.
Here's how a flip book works to fool the eye

STUDENT GALLERY

THESE FILMS WERE CREATED BY MY MIDDLE SCHOOL STUDENTS USING iPADS AND THE APPS ANIMATION CREATOR, iMOVIE AND SKETCHBOOK PRO


Created by a 6th grade student


Walk cycle animation by an 8th grade student


Animation by a 6th grade student


Short Claymation Films by middle school campers, Camp Horizons, Livingston NJ. Activity Taught By Rachel Wintemberg. All filming and creative work done by kids!
http://thehelpfulartteacher.blogspot.com

PROJECT IDEAS: USE THESE LESSONS TO TEACH STUDENTS ABOUT THE ANIMATION PROCESS

Directions: Fold a piece of paper in half. Open it like a book and draw a face on the bottom half of the page. Close the 'book' and trace the face, except for the mouth, onto the 'cover'. Change the expression on the mouth on your second (traced) picture. Now flip the top page up and down to animate the face.
Assignment: Using the iPad app Animation Creator, create an animated cartoon of a person's face. Make your character ( or characters) change their facial expressions, depending on what is going on in the story. Feel free to use the worksheets from my lesson on Sketchbook Pro, if you need ideas.

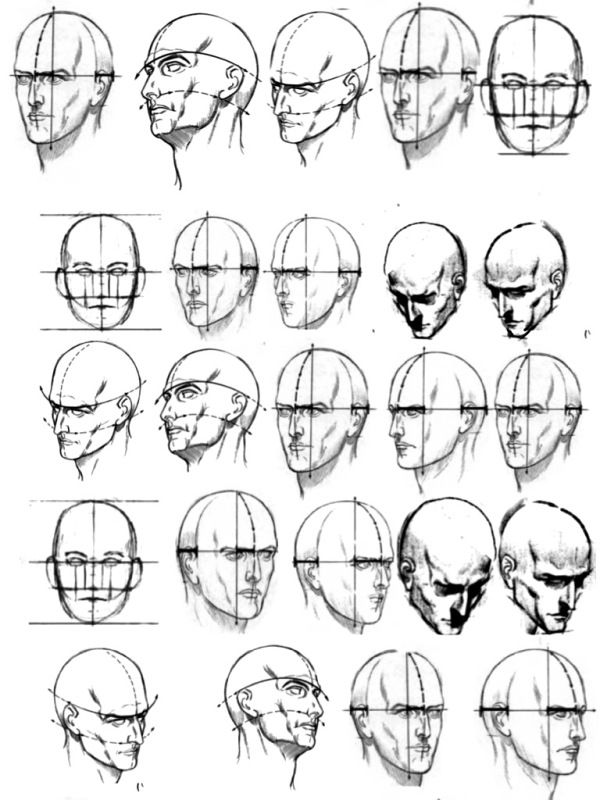
Use this reference sheet if you need to make your character's head turn or move.

Photobucket Pictures, Images and Photos


These reference  pictures were created by the illustrator and cartoonist Burne Hogarth.
To download Burne Hogarth's free books on dynamic figure drawing and movement, please visit 
http://bookos.org/g/Burne%2520Hogarth

My students, who only have art twice a week, did not have time to use Hogarth's beautiful drawings or animate more realistic human heads but we did have fun drawing cartoon people and changing the facial expressions. Once we were done experimenting, I gave them a more serious assignment, one that involved using animation to tell a story. Our school district uses the 8 Keys of Quantum Learning character education curriculum. 
The students chose to focus on the second key;
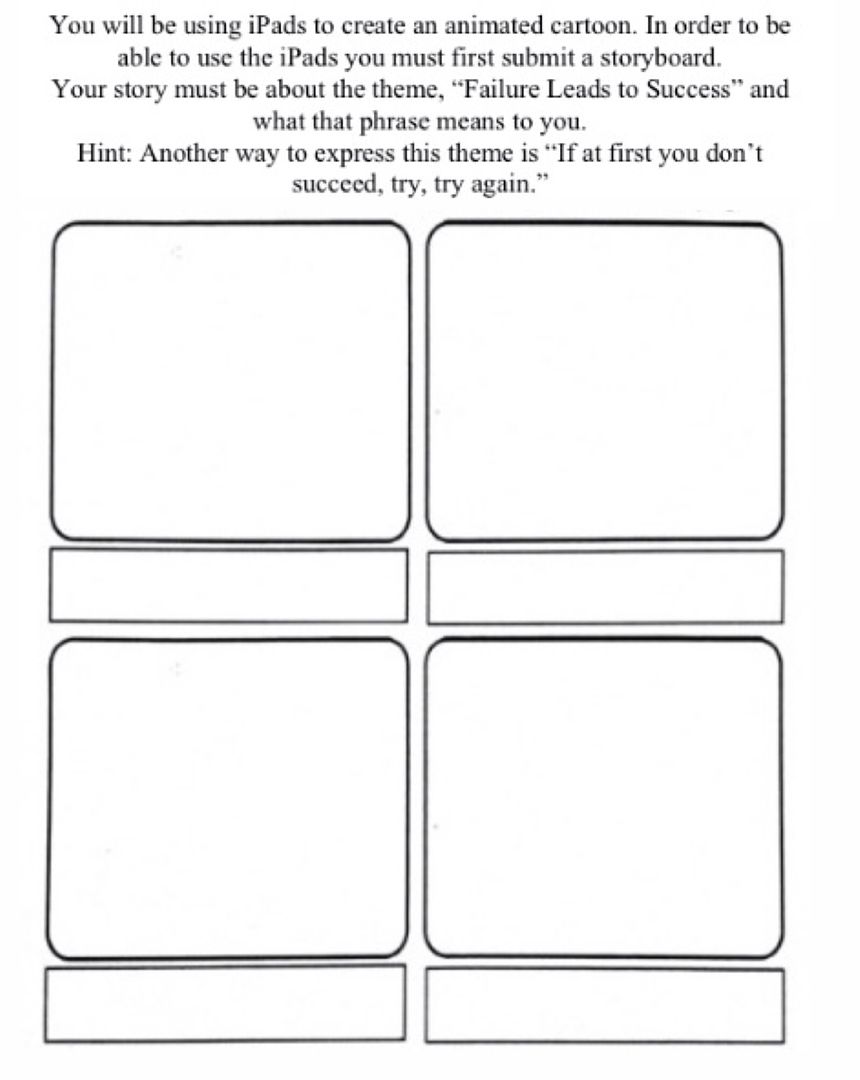
 'Failure Leads to Success'. Here is the worksheet I handed out to get them started:

 photo 739a46fc-3339-45e1-bac4-f4ea236bb13b.jpg
Use the boxes above to draw your storyboard. Use all four frames. Include 1 frame to introduce the main characters, 1 frame to show the beginning of the story, one frame to show the middle and one frame to show the ending. Use the small boxes below each frame to 
explain what is happening in the story. 

HERE ARE SOME OF THEIR FINISHED ANIMATIONS


Failure leads to success from Rachel Wintemberg on Vimeo.
A message from the students at William C. McGinnis School. Treat every struggle as a learning experience. If you've never failed at anything, you've never challenged yourself to learn something new.
http://qlblog.qln.com/archive/2008/04/03/failure-leads-to-success.aspx


For step by step directions on how to use Animation Creator, please see the following posts in this blog:


Click on the link below to read my review of the iPad App Animation Creator HD in the Spring 2014 issue of Scholastic Administrator Magazine:


Human Head Quick Sketch: form in space

My students requested a more detailed cartooning lesson on how to draw the human head looking in different directions. Use this as a guide when cartooning or animating.


How to use the iPad app 'Animation Creator'


How to use layers in 'Animation Creator' to do rotoscoping

Click here to see my complete blog post on using rotoscoping in  the iPad app 'Animation Creator'.

Click here to read a complete explanation of rotoscoping, and the history of the technique on Wikipedia.