Welcome to The Helpful Art Teacher, an interdisciplinary website linking visual arts to math, social studies, science and language arts.
Learning how to draw means learning to see. A good art lesson teaches us not only to create but to look at, think about and understand our world through art.
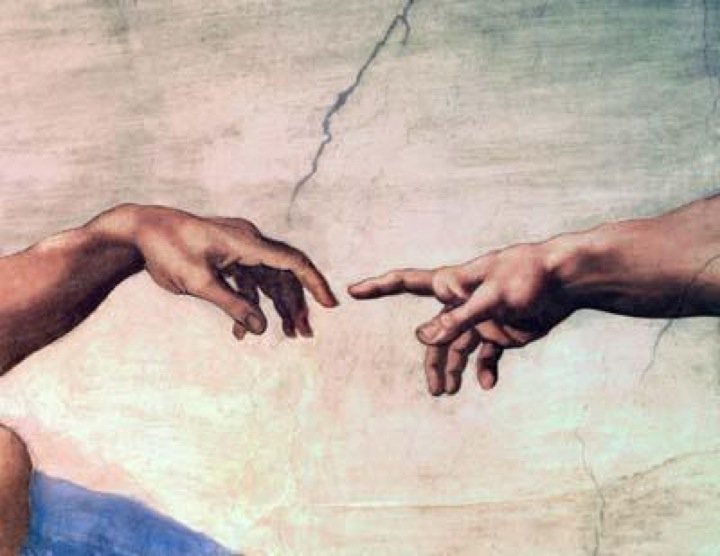
Adam touching the hand of God, Michelangelo, ceiling of the Sistine Chapel
Start by copying a simple picture of a hand. Note that the arm angles in at the wrists and then widens out at the beginning of the hand. Most beginners forget to narrow the arm at the wrist and try to draw the fingers coming straight out of the arm. It is helpful to lightly draw a mitten shape first to get the overall shape of the hand and then erase it later after you have added the fingers
In order to accurately draw hands, it is necessary to understand the concept of foreshortening. The fingers appear to be shorter in the second picture because you are looking at them from the side view and they are moving away from you in space.
I took the two photographs above of the exact same hand from the exact same distance. Yet the fingers in the second hand appear to be much shorter. They also appear to get narrower towards the tips. This is the optical illusion known as perspective.
Think of the fingers on a human hand as very narrow cylindrical forms. Imagine that each joint of each finger is actually the same shape as this soda can.
It's easy to see how the cylindrical shape of the soda can gets narrower as it gets farther away from the viewers eye. It also appears shorter in the second photo because it is angled away from the viewer. Think of fingers as three dimensional cylindrical forms moving through space and you've got it!!
Assignment: Practice drawing your non-dominant hand. Start out by drawing the front and back of the hand flat on the table. Then try drawing it from different angles. Try copying photographs of hands before you attempt to do some of the more complex foreshortened views from life. Use the sketches below by famous artists as a reference.
From the sketchbook of Albrecht Durer
From the Sketchbook of Leonardo Da Vinci
From the Sketchbook of Leonardo Da Vinci
From the Sketchbook of Leonardo Da Vinci
Antoine Watteau, Three studies of open hands, a drawing, British Museum
From the Skechbook of John Singer Sargent Collection of Harvard University
From the Sketchbook of Vincent Van Gogh
Andreas Vesalius
From the sketchbook of Antonio Pisano
Close up of Mona Lisa by Leonardo Da Vinci
From the sketchbook of Albrecht Durer
From the Sketchbook of Leonardo Da Vinci
From the sketchbook of Vincent Van Gogh
From the sketchbook of Albrecht Durer
From the Sketchbook of Leonardo Da Vinci
From the Sketchbook of Leonardo Da Vinci
Albrecht Durer
Albrecht Durer
MC Escher
From the Sketchbook of John Singer Sargent Collection of Harvard University
From the Sketchbook of John Singer Sargent Collection of Harvard University
From the sketchbook of Vincent Van Gogh
From the sketchbook of John Singer Sargent
From Animal Locomotion by Eadweard Muybridge, 1887
Adam touching the hand of God, Michelangelo, ceiling of the Sistine Chapel
Watch the video below for step by step directions for creating gem and pearl drawings:
Create several gem drawings. Try putting the lightest value on the front facet and progressively darker values on the smaller facets. Try creating a symmetrically balanced pattern of values.
Original gemstone
This is the same gemstone in gray scale.
Enlarge and copy this contour line drawing or create your own symmetrically balanced cut gemstone design, using a ruler. Start in the middle and make every line on the left a mirror image of every line on the right. Using the worksheets provided as a reference, fill each facet of the gem with a different value.
The sphere worksheets were downloaded from About.com
Use the sphere shading worksheet as a guide for shading the pearls.
Directions: Use an H or HB pencil to copy the photograph on the left into the corresponding box on the right as exactly as possible. Use a 2B and 6B pencil and blending stomp to copy the textures and values as exactly as possible. Work neatly and carefully. Do NOT scribble.
Gem and Pearl Drawings by Foundations of Art Perth Amboy High School Students
Additional Textures to print out,
draw and shade
Advanced work
Print out this worksheet and follow the directions
ADDITIONAL VALUE SCALE WORKSHEETS
Hint: Have a friend hold up both worksheets, stand a distance of eight feet away and squint your eyes. If you can easily distinguish them, your picture needs more work. remember, you only get out of these exercises what you put into them. As Salvador Dali once said; "No lazy masterpieces. "
Advanced work: Try printing a photograph of a face in black and white. Next draw your own grid lines, like the ones above, with a ruler, directly on the photograph. The objective is to isolate the (light or dark) value of each section of the grid and translate that information into a drawing. Draw a value study of the face on a separate piece of paper. This activity will be time consuming but it will force your mind to see highlights, mid-tones and shadows. Learning how to draw means learning how to observe, synthesize and create. After doing this exercise you will begin to notice the highlights, mid-tones and shadows in ordinary people's faces, even when you are not drawing.
For an excellent tutorial on tonal values by a professional artist, click on the link below:


